

saudi turf team Rubber Stable Floor
The most common type of stable floor is concrete. However, many stable owners are covering their concrete floors with rubber, which offers a number of advantages.
Stall Mats versus Liquid Rubber Flooring
The main disadvantage of stall mats is that urine can run underneath them. This occurs at the seams where the mats join (one normally uses multiple mats to cover a stable floor) and also at the gaps between the mats and the walls. This urine builds up under the mats, releasing odours and harmful ammonia. Although one can partly compensate for this by periodically lifting the mats and cleaning under them, this takes a certain amount of time and is not easy (rubber stall mats are heavy).
With liquid rubber, the floor is in a single piece and joins with the wall (in fact, one would normally apply the rubber onto the wall as well for a height of at least several centimeters). Consequently, there are no seams or joins which would allow the urine to enter. Furthermore, the rubber bonds with the concrete floor, so there is no space for urine or dirt underneath the rubber. This is a major advantage over stall mats, as it is not only healthier but also there is no need to periodically clean underneath it.
An important advantage of stall mats is that they are not fixed to the floor, as they rely on their weight to hold them in place. Therefore, one can remove them and use them elsewhere. This makes them convenient if you are just renting a stall for a period of time. One would not want to use liquid rubber in a temporary stall as it bonds to the concrete floor and cannot be removed or reused. Another consideration is that rubber stall mats tend to be less expensive than liquid rubber.
Installation
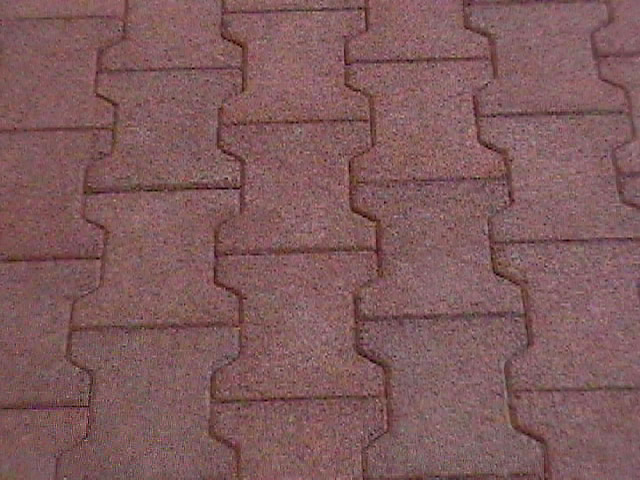
Rubber mats are simply laid on top of a hard surface (e.g. concrete stable floor). They may or may not be interlocking. With lower quality mats, one may need to fasten the corners to stop them curling up.
With liquid rubber, there are three components. The first is the liquid rubber itself, the second is a chemical 'hardening' powder and the third is rubber granules (chunks of rubber). The hardening powder is mixed with the liquid rubber to cause the rubber to harden into a solid. The granules are mixed in so that the resulting floor is rough rather than smooth (a completely smooth floor would have poor traction when wet). One mixes the three components together, spread the resulting mixture on the floor, smooth it (e.g. with a trowel) and then wait for it to harden.
One can either hire a professional to lay a liquid rubber floor or do it oneself. If doing it yourself, some key points to remember:
Thoroughly clean concrete floor. The liquid rubber is normally placed on top of a concrete floor. It is absolutely critical that this floor is completely clean; failure to do this is the most common cause of poor performance. One should use a water pressure jet sprayer to clean the floor of all dirt, dust and so on; then remove all the water; then clean it again. If the floor is not absolutely clean, the rubber may not properly bond to it and subsequently lift.
Thickness
The thicker the rubber is, the stronger and more durable it is. For horses, a minimum thickness of 1.2cm is recommended as thinner layers are not only less strong but also have a tendency to 'bubble'. As a guide, for elephants and rhinos, zoos use a thickness of at least 2.5cm. Personally, I would suggest a thickness of 2.0cm if you can afford it.
Two people. It is useful to have a 2-person team for this task, so that one person can mix and the other person focus on pouring and smoothing the mixture. This task is somewhat similar to working with self-leveling concrete, so if you know someone who works in the building trade and has experience with producing smooth concrete floors, they may be a good person to ask.
Quality. Make sure that you purchase a high-quality product. In particular check that the rubber is 'non-porous' as porous rubber will allow urine to enter the rubber.
No second chances. The liquid rubber forms a very strong bond with the concrete floor and is extremely difficult to remove, to the point that removal may cause significant damage to the underlying concrete. Furthermore, the product is expensive, so from an economic perspective one does not want to have to redo it. Consequently, it is important that you carefully read and follow the instructions, with particular attention to the points above.


No comments :
Post a Comment